15 Oct
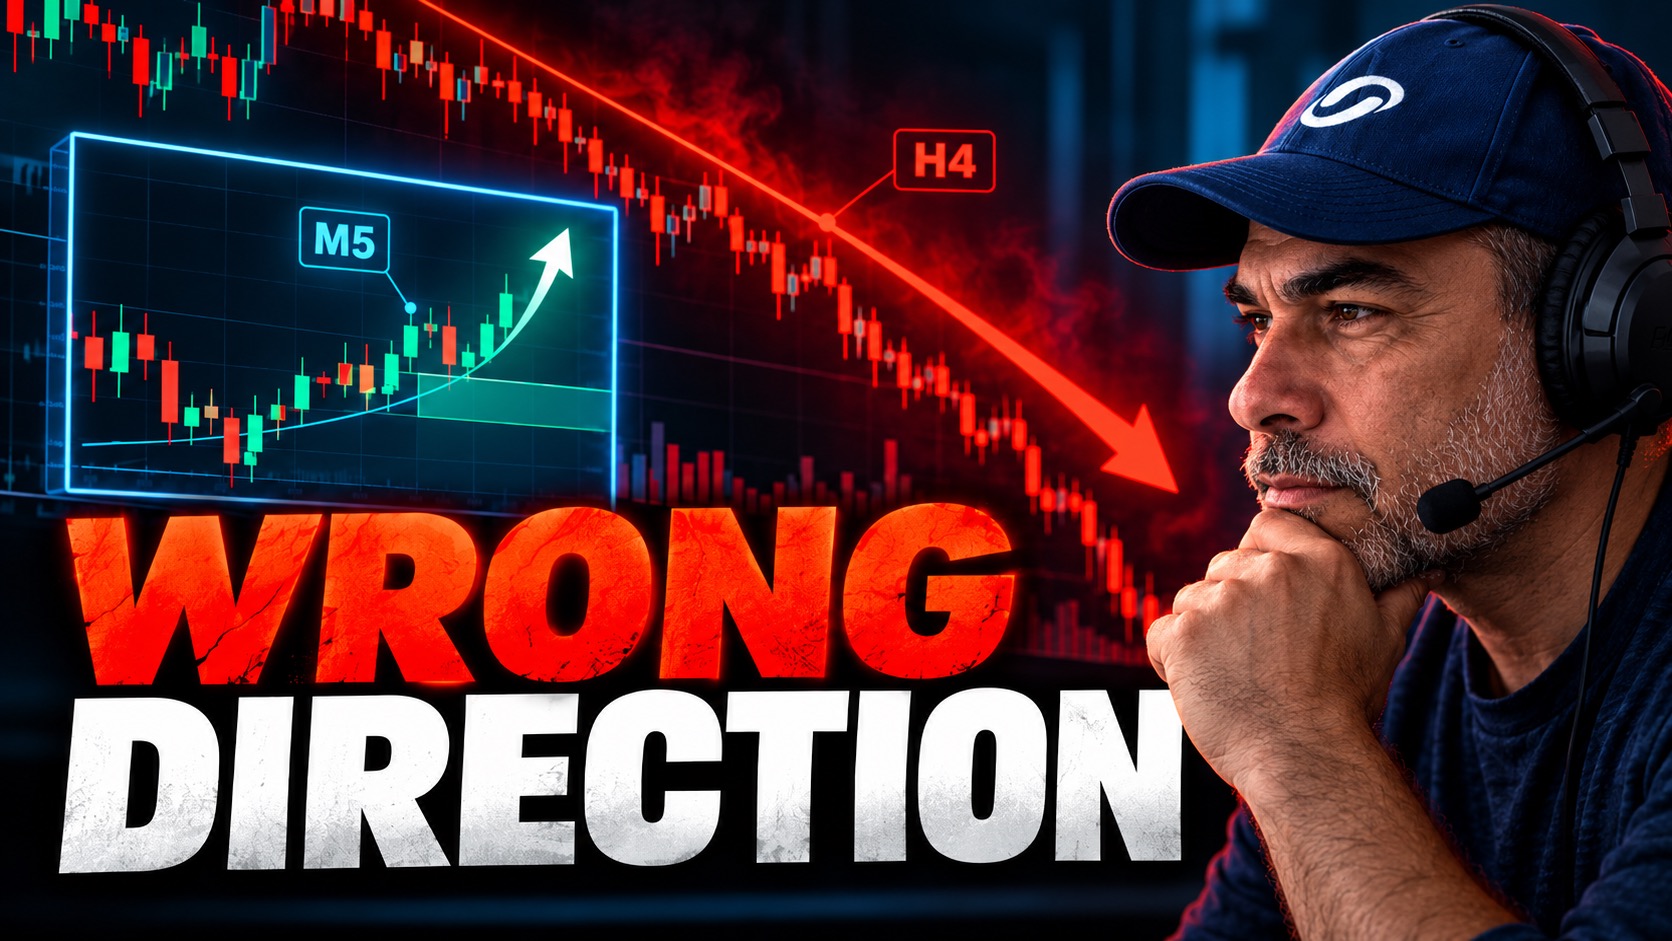
Every trader reaches a point in their career where they identify what appears to be a flawless entry setup—a pristine supply or demand zone, clean price action, and perfectly aligned technical indicators- only for the market to immediately roll over and stop them out.
When high-probability setups consistently fail, the issue is rarely the entry pattern itself. In a recent educational session, Alfonso Moreno, founder of Set and Forget, broke down the structural blind spots that trap retail traders. The core reason trades fail is simple: trading in the wrong direction by failing to integrate higher-timeframe context and multi-timeframe analysis.
Here is a comprehensive breakdown of the core principles covered in the webinar, complete with practical chart teardowns and actionable risk management frameworks.
Why Your Best Trading Setups Keep Failing: The Multi-Timeframe Context Solution
Every trader reaches a point in their career where they identify what appears to be a flawless entry setup—a pristine supply or demand zone, clean price action, and perfectly aligned technical indicators—only for the market to immediately roll over and stop them out.
When high-probability setups consistently fail, the issue is rarely the entry pattern itself. In a recent educational session, Alfonso Moreno, founder of Set and Forget, broke down the structural blind spots that trap retail traders. The core reason trades fail is simple: trading in the wrong direction by failing to integrate higher-timeframe context and multi-timeframe analysis.
Here is a comprehensive breakdown of the core principles covered in the webinar, complete with practical chart teardowns and actionable risk management frameworks.
The Indicator Illusion
Lagging technical indicators—such as Exponential Moving Averages (EMAs) or the Moving Average Convergence Divergence (MACD)—frequently create false directional signals near major turnarounds:
- The Trap: On lower timeframes, moving averages may cross downward, and MACD histograms may expand negatively, signalling a “strong short.”
- The Reality: If price is simultaneously dropping into an unmitigated Monthly Demand Zone, institutional buyers will absorb that selling volume. The lower-timeframe short setup fails instantly as price aggressively reverses upward.
2. Real Market Case Studies
Meta Platforms (META): Respecting Higher-Timeframe Imbalances
- The Misconception: During a sharp sell-off on the 1-hour chart, 20/50 EMA bearish crossovers and negative earnings news enticed short sellers to hit the market.
- The Context: Price dropped directly into a long-standing Monthly Demand Zone (~$571 level).
- The Result: Despite negative news catalysts and lower-timeframe bearish indicators, institutional buying absorption held the monthly demand zone, triggering a multi-month rally to new highs.
- Key Takeaway: Fundamental news and lower-timeframe momentum fade when price collides with major higher-timeframe supply or demand imbalances.
Euro vs. British Pound (EUR/GBP): Aligning All Timeframes
- The Setup: A textbook demonstration of top-down multi-timeframe alignment.
- The Context: Weekly, daily, and 4-hour market structures were all making lower lows and lower highs.
- The Result: With no opposing higher-timeframe demand blocking the path, selling pullbacks into fresh supply zones offered a high-probability short bias with substantial profit margin down to the next major weekly target.
Bitcoin (BTC): Trading with the Daily Order Flow
- The Misconception: Attempting to short lower-timeframe counter-trend pullbacks during an ongoing daily expansion phase.
- The Context: Bitcoin established strong daily demand and maintained clear bullish market structure.
- The Result: Counter-trend short signals on 1-hour charts resulted in sharp stop-outs as fresh daily demand pushed prices back up toward resistance.
3. Fresh vs. Tested Imbalances: The Quality Spectrum
Not all supply and demand zones are created equal. To improve setup selection, classify order flow zones based on their historical interactions:
| Zone Status | Description | Structural Reliability | Recommended Execution |
| Fresh / Untested | Zone created by a sharp imbalance that price has never retested. | Highest | Standard rule-based limit orders or confirmation entries. |
| Tested (1x–2x) | Zone has been retested once or twice; partial order absorption has occurred. | Moderate / Reduced | Requires explicit lower-timeframe structural confirmation before entry. |
| Exhausted (3x+) | Repeated retests without a strong departure impulse. | Low / High Risk | Avoid. Zone is likely to break as institutional liquidity is depleted. |
Rule of Thumb: Prioritize fresh, virgin imbalances featuring strong departure candles and clean market structure breaks over heavily tested levels.
4. Top-Down Analysis Workflow
To ensure you are never trading against dominant institutional order flow, apply this standardized four-step workflow before placing any order:
- Higher-Timeframe Bias: Identify Monthly and Weekly zones to determine the overarching directional bias.
- Obstacle Location: Locate key supply or demand barriers directly in the path of the trade.
- Timeframe Alignment: Confirm that Daily and 4-Hour structures align with the higher-timeframe direction.
- Zone Selection & Execution: Select fresh, high-quality entry zones and define precise entry, stop-loss, and profit targets.
Watch the Full Webinar Recording
For detailed chart walkthroughs and additional market analysis covering FX, Cryptocurrencies, and Global Indices, watch the full live webinar recording on YouTube:


Support & Resistance vs. Supply & Demand: Why You Are Trading Wrong
September 25, 2026
Tesla Optimus Robot: The Doom of Humanity or Your Next Big Win?
September 18, 2026
